www.xlr8yourmac.com

Systems  | CPU Upgrades  | SCSI | IDE | Firewire  | Video  | Audio  | Games  | Misc/OS  | Archives  | Search

Searchable Databases of Mac Owner Reports on:
CPU Upgrades | Drive Compatibility (HD/DVD/CDRW/Tape) | System/Graphics Benchmarks | Game Reviews

Got Questions? - Check the FAQ for Answers
800+ Answers on CPU Upgrades/CDR/DVD/Storage/Video Cards/Firewire/Games & More!
Email News/Tips/Reviews | Advertise here
Return to News Page

Click for iPod Accessories

Mac Pro 2008: Guide to optical bay hard drive installation
By Oliver B.
Posted: Jan. 28, 2008


Hi Mike, Below you will find a few photos of me putting a Raptor 150 GB in the optical drive bay of my new Mac Pro. This has been described before for 2006/2007 models (ref: June 2007 article How I "Silenced" a WD Raptor in a Mac Pro), but with the 2008 model it has become easier, as evident in pic 1 to 3. Pics 4 to 8 show the rest of the process. Cheers, Oliver

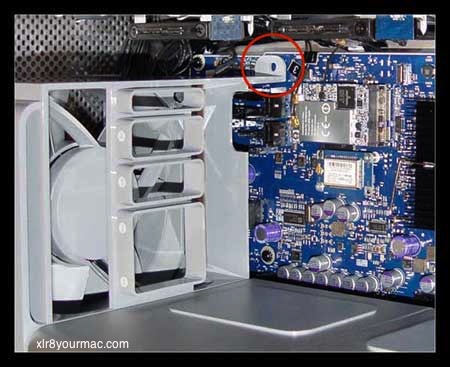
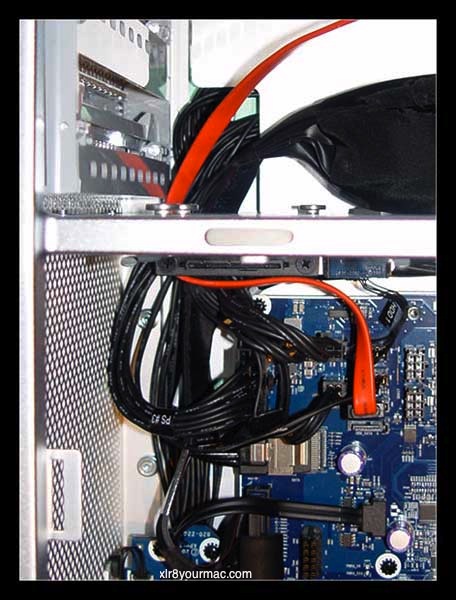
1. The front fan assembly has be removed, which is attached by two screws. The pic below shows where the first screw would be.


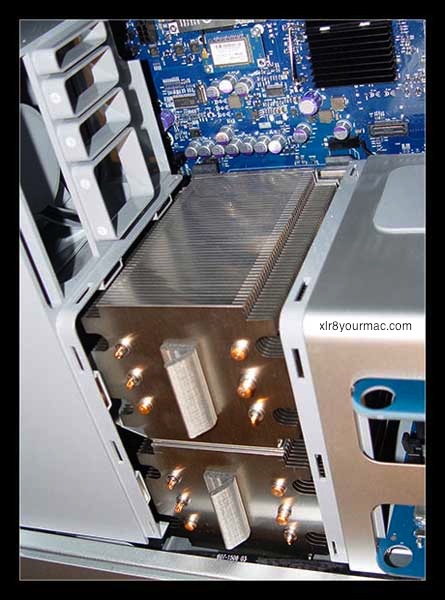
2. The CPU heat sink cover has to be removed. Contrary to the previous Mac Pro, the heat sink cover can be simply pulled off, as it is fixed with magnets (no need to loosen the RAM compartment as with the earlier Mac Pro).


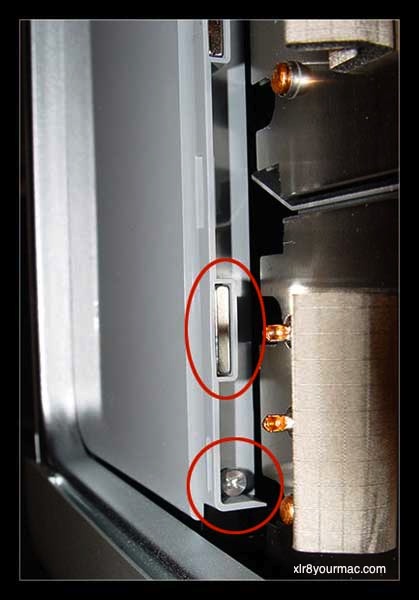
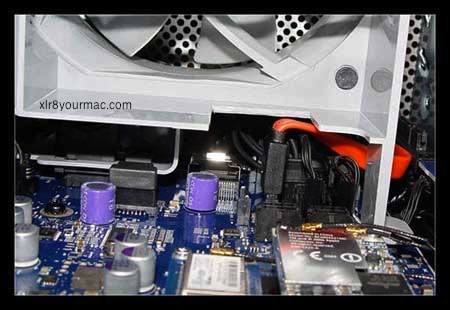
3. This is the second screw fixing the front fan assembly to the case. Also clearly visible is one of the magnets.


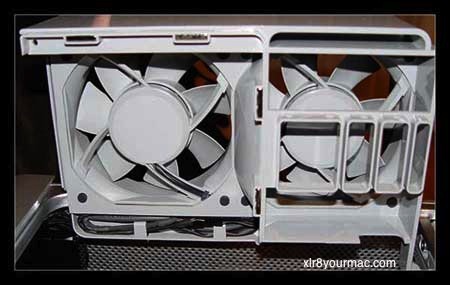
4. When the screw is removed, the fan assembly can be simply pulled out (hardly any force necessary, much unlike the previous Mac Pro IME).


5. There's enough space to fit a SATA cable in there. One has to be somewhat careful not to break the connector on the motherboard, as there's no guide/shroud around the connector.


6. I decided to cut out a part of the fan assembly, but it's not stricly necessary if the cable is routed this way. One could route a SATA-to-eSATA cable out the back through one of the PCI slots to attach an eSATA device (I used to do this for my external backup drive).


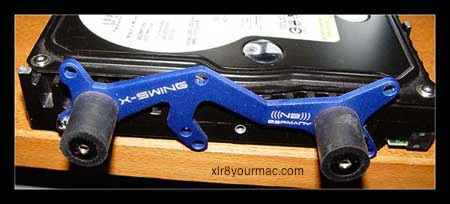
7. The Raptor 150 with a decoupling 3.5" to 5.25" mounting kit (rubber cylinders dampen vibrations).
(Note: He's using an "X-Swing HDD decoupler"-Mike)


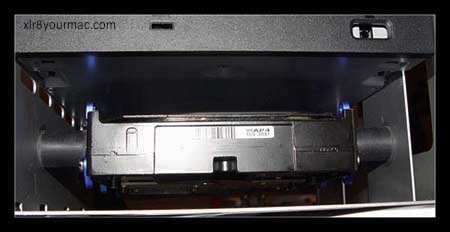
8. The Raptor installed in the lower drive bay.


If you've done a Mod or Upgrade to your Mac you'd like to share, let me know. Thanks.-Mike

Related Articles: For other Mac Pro related articles, see the Systems page, Intel-CPU Macs section. (There's also an article on Using the Mac Pro's 2 extra onboard SATA Ports w/NT Cable Kit and Ext. SATA Case.)


Click for Wireless Networking Upgrades!

OWC XLR8 SPECIALS!
(see full list)

= 3.5in HARD DRIVES =
1TB and 2TB HDs
2TB 7200rpm $179

= 2.5 in & SSD HDs =
SSD Drives, Notebook Hard Drives and DIY drive/case kit bundles

= MEMORY =
2009 Mac Pro kits, 2008-2006 Mac Pro FBDIMM kits, Upgrades for MacBooks/MacBook Pros/iMacs/Mac Minis!
Also ram for G5, G4 and G3 Macs from under $30!

= OPTICAL DRIVES =
Internal and External Superdrives/Blu-Ray drives.

= VIDEO CARDS/LCD/TV =
GTX 285 for Mac Pro, Radeon 3870s, LCD Displays, TV tuners and more.

= SOFTWARE =
Prosoft Drive Genius 2 (under $60), Drive Genius 2 + Data Rescue 2 bundle w/big discounts.

= WIRELESS =
802.11N/g/b adapters from under $20!

= CPU UPGRADES =
G4 7448 and G3 1GHz upgrades

XLR8YourMac.com T-Shirts
Support this site!


FasterMac.net
Internet Access


Mac Model Articles

CPU Upgrade Articles

Video/Card Articles

Storage Articles

Search Mac Drive Upgrades/Compatibility Database

Search the CPU Upgrade Database

Freq. Asked Questions


Recent Reviews and Articles:
Listing/links to recent articles, guides and reviews you may have missed.  Details

 
= back to www.XLR8YOURMAC.com =


= Other Site Topic Areas =
Systems | CPU Upgrades | SCSI | IDE | Video | Firewire | Audio | Tips/Misc | Mac OS Articles | FAQ


Copyright © , 1997-2010. All Rights Reserved
All brand or product names mentioned here are properties of their respective companies.

Legal: Users of the web site must read and are bound by the terms and conditions of use.